All
Archives
May 2022
|
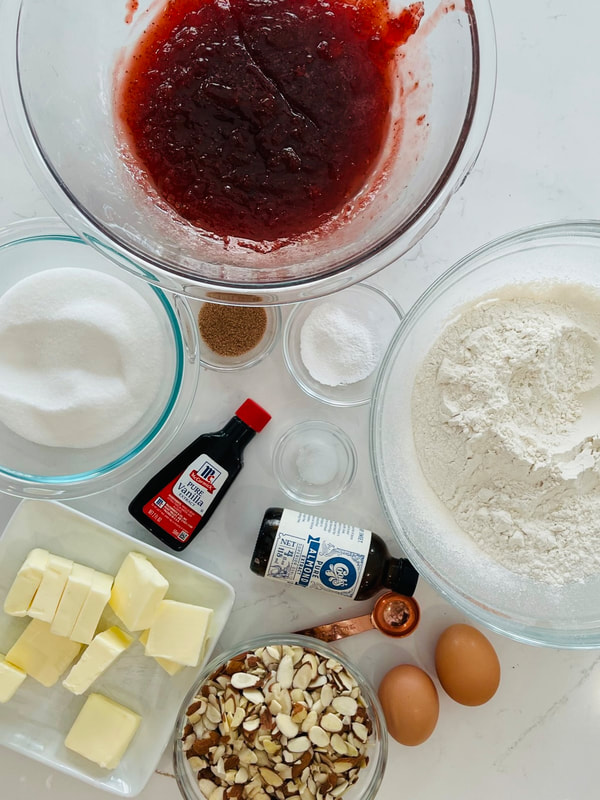
Hello my darling bees, It’s been a hot minute hasn’t I know, but the kitchen is coming on nicely (yes, it’s taken sometime, but we are doing it ourselves - i keep saying that, like it’s a good thing!!). Over the last few weeks I've been allowed back into my kitchen, and I’ve spent the time testing bakes and trying out fun ideas, and this one is a doozy! I just bursts in your mouth with the first bite. 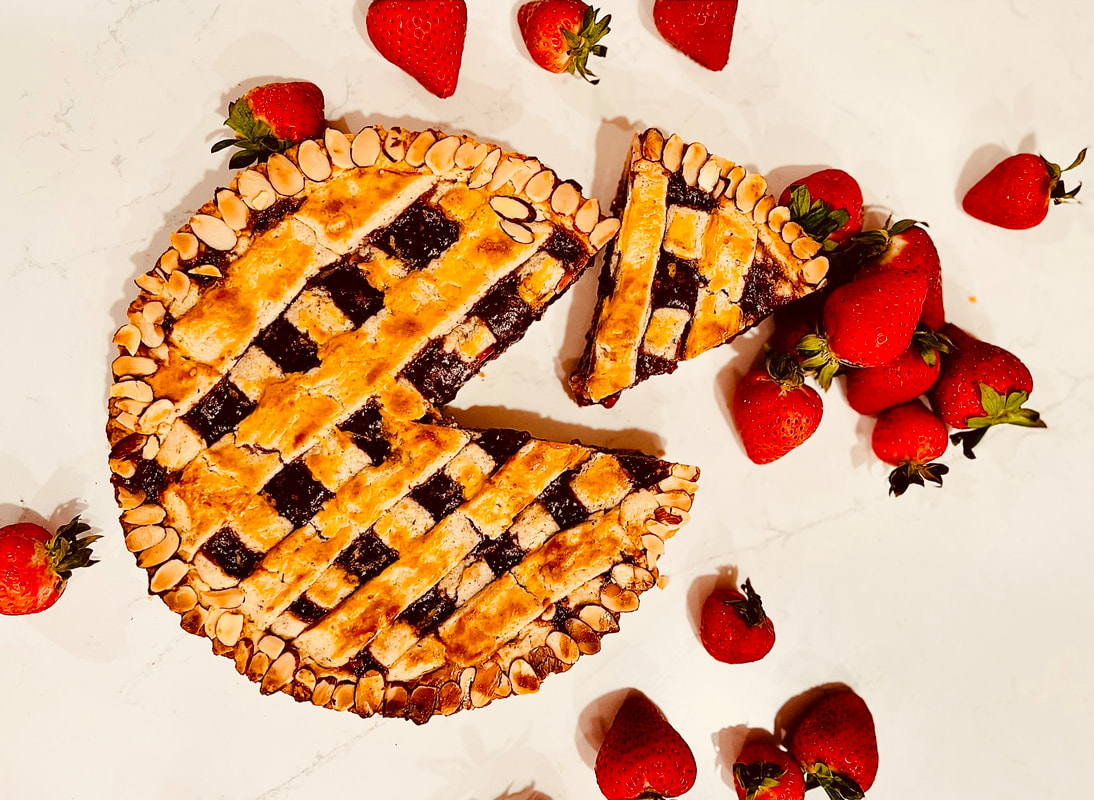 What will I need?
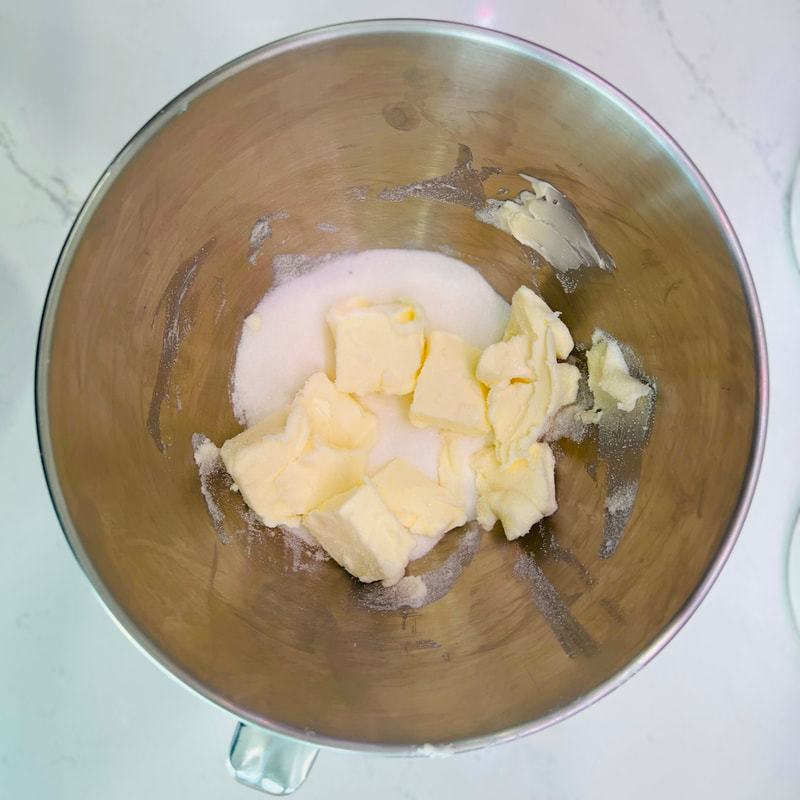
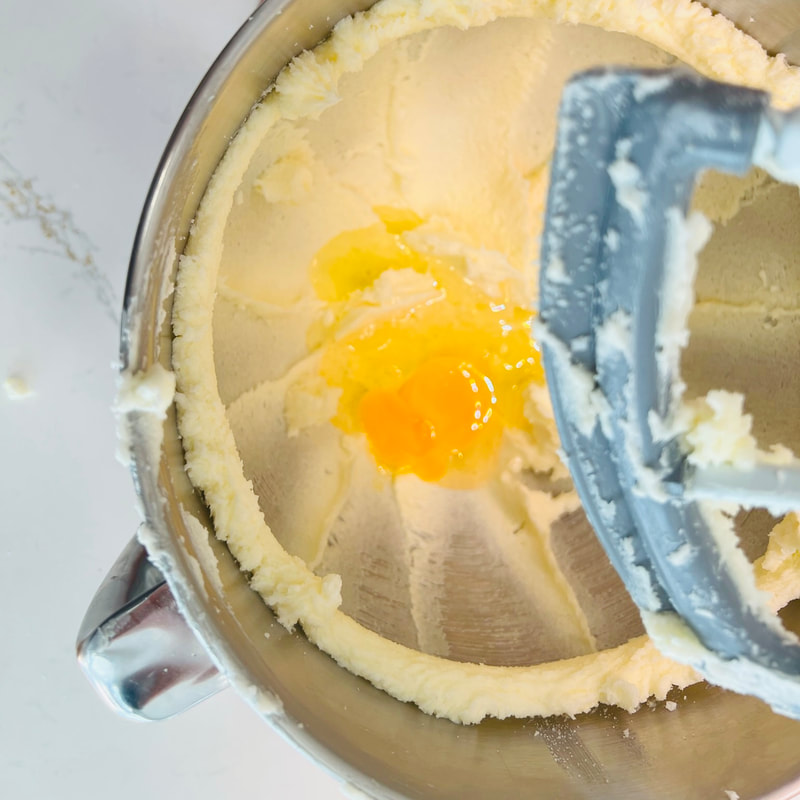
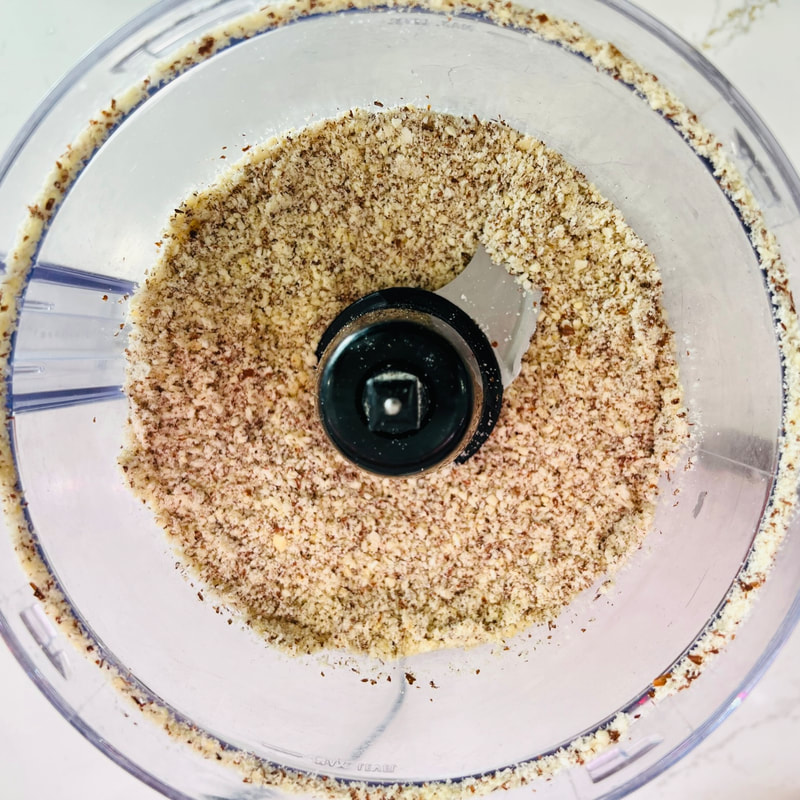
What do I do?1. First, my darlings, using the paddle attachment of your standing mixer, cream the softened butter and sugar at a medium speed (setting 8). 2. Add the two egg whites, and one egg yolk, and continue to mix until fluffy. Then add your vanilla, cinnamon, almond extract, salt, baking powder and mix them together. 3. Now add your finely ground almonds and mix that in. 4. Next, add the flour in two installments, then mix it in. Increase the speed and knead the mixture into a nice smooth dough. The dough can also be made by hand if you wish (if your dough is still a little tacky just add flour, a little at a time, until its pliable) 5. Divide the dough into two portions, then wrap them both with cling film, then pop them in the fridge for 30 minute.
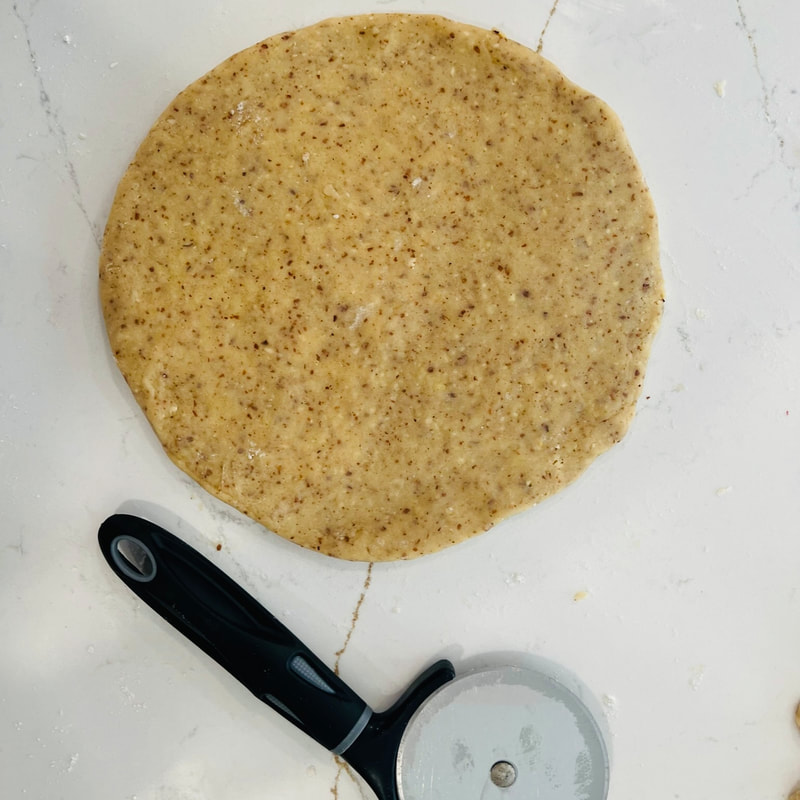
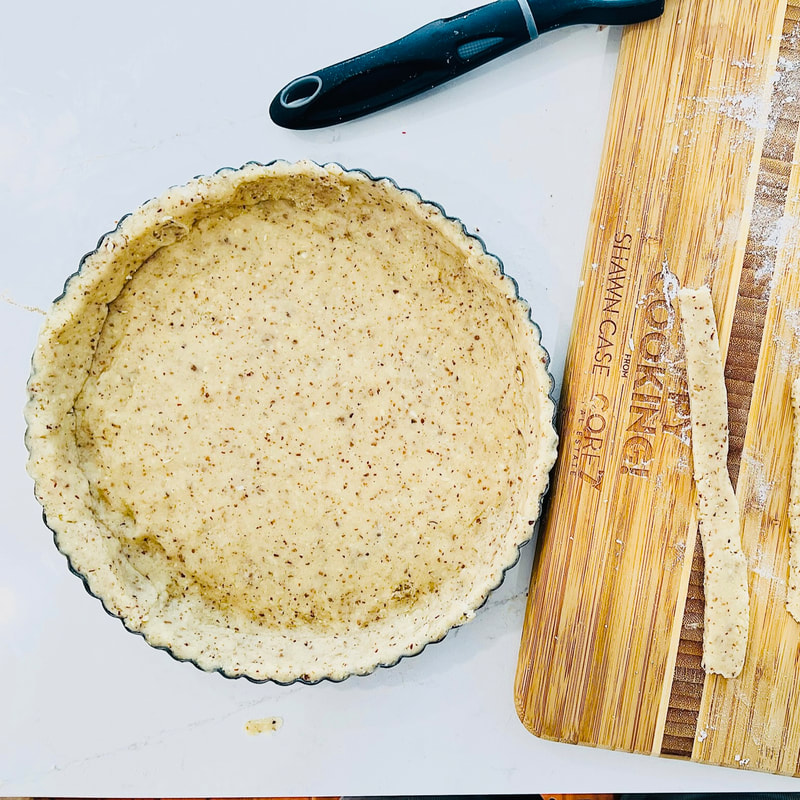
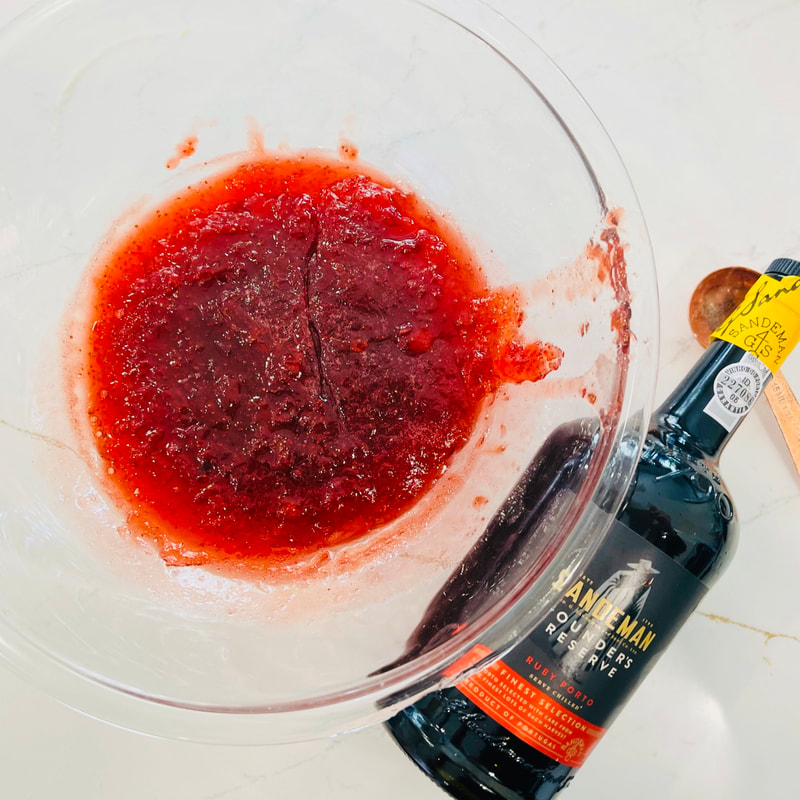
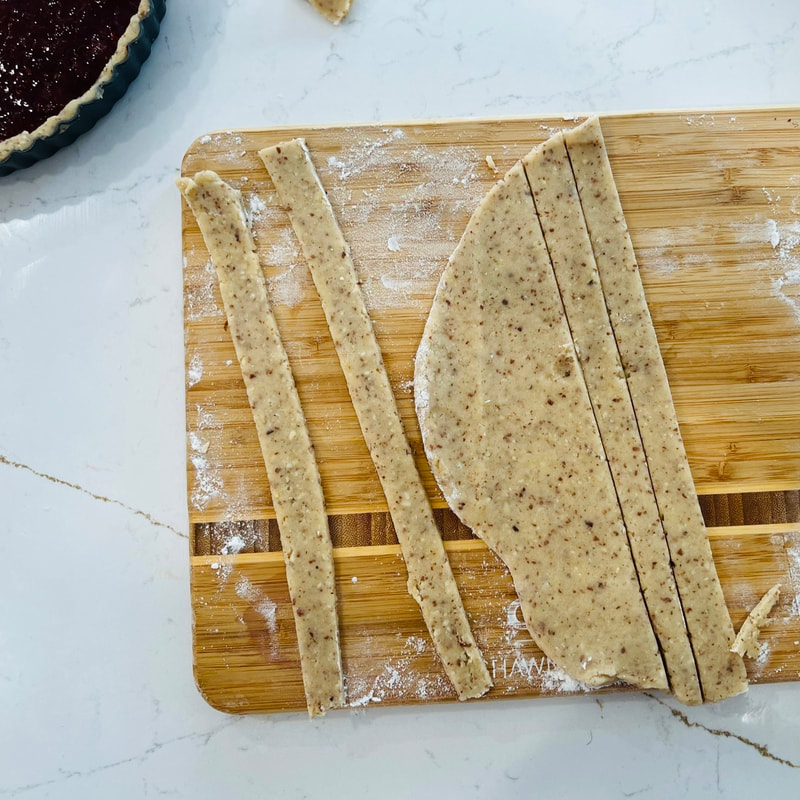
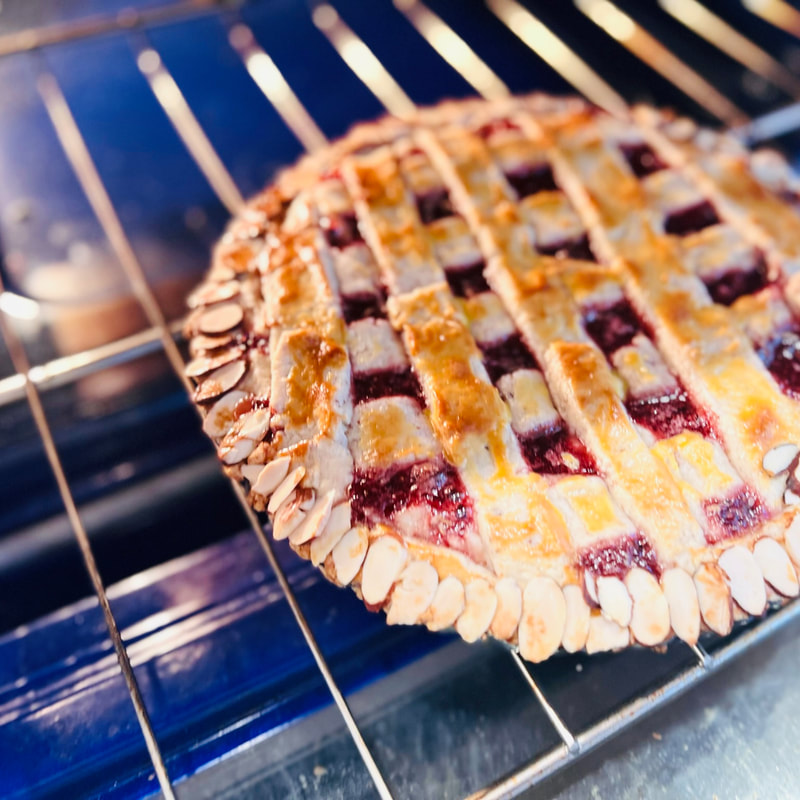
6. Take one portion of the dough and cut out two-fifths (40%) of it. 7. Roll it out into a circle, dusting with flour as needed. You can also roll out the dough between two sheets of wax paper. 8. Cut narrow strips using a pizza cutter or a star knife, then refrigerate to allow the strips to firm up while proceeding with the next steps. 9. Roll out the remaining three-fifths (60%) of the dough into a 10 inch circle, dusting your work surface with flour. 10. Prepare your pan by lightly applying butter all over and lining the bottom with a parchment paper circle. 11. Transfer the dough circle to your pan. 12. Using your fingers, press the dough about one inch up the sides of the pan. 13. Now take about half the purée and spread it out evenly on the dough circle, then add more if wish (I like to fill mine as much as i can). 14. With the help of an offset spatula lay about four to five of the narrow strips over the jam, parallel and evenly spaced. I start in the middle and then work out. 15. Repeat with laying four more strips in the opposite direction to create a lattice pattern. If the strips break, no biggie, press the ends together and it will bake fine. Trim the edges off the strips. 16. Use the remaining strips to create a border at the outer edge of the where the strips join the bottom crust. Seal the outer edge using a fork or spatula. 17. Whisk the other egg yolk (add few drops milk if needed) and brush all over the pastry strips. Decorate the outer edge however you see fit (e.g. I used almond slices). 18. With the oven set at 375F. Pop your yummy strawberry pie in for 40 minutes, or until golden brown. 19. Once baked, bring her out of the oven (watch your pinkies) and pop her on the cooling rack. Once cooled run a knife round the edge to help loosen then pop her out of the pan to allow to cool completely.
Tips, Tricks & Tiaras
0 Comments
Leave a Reply. |

 RSS Feed


Website |
Lucille L'queur |
|