All
Archives
May 2022
|
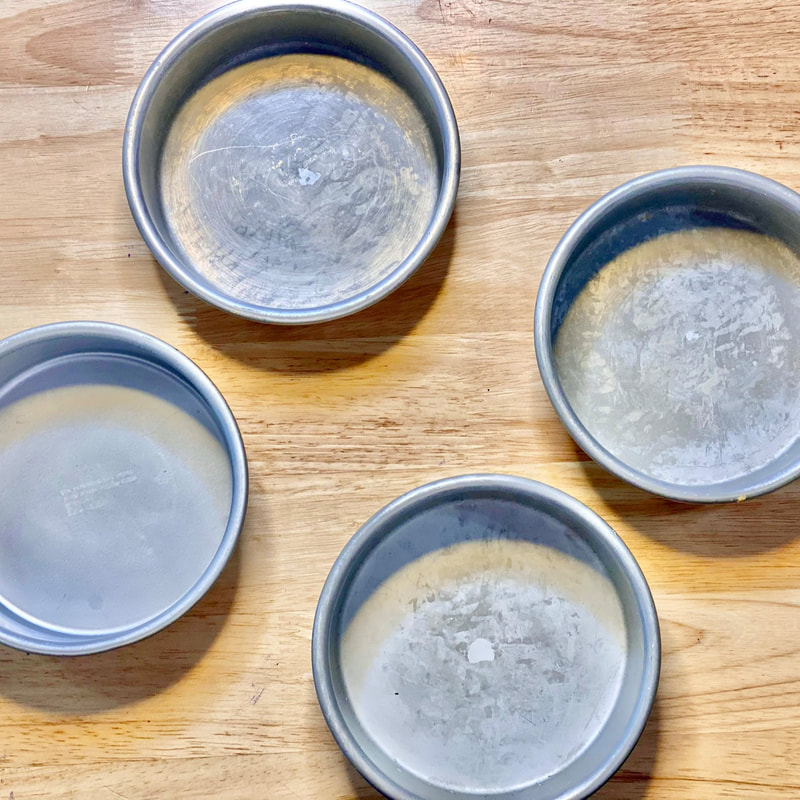
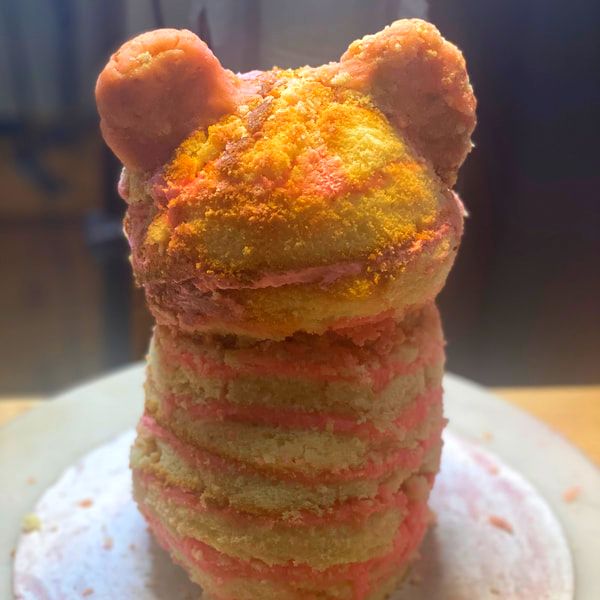
You can do this cake over one or two days. I'd personal recommend taking two days: with your planning, prepping and baking on day one, then constructing your cake on day two. Starting with body, head, legs. arms and lastly feet (keep your offcuts for the arms, legs and feet). A template for the Teddy Bear to help guide you can be found at the bottom of this page. 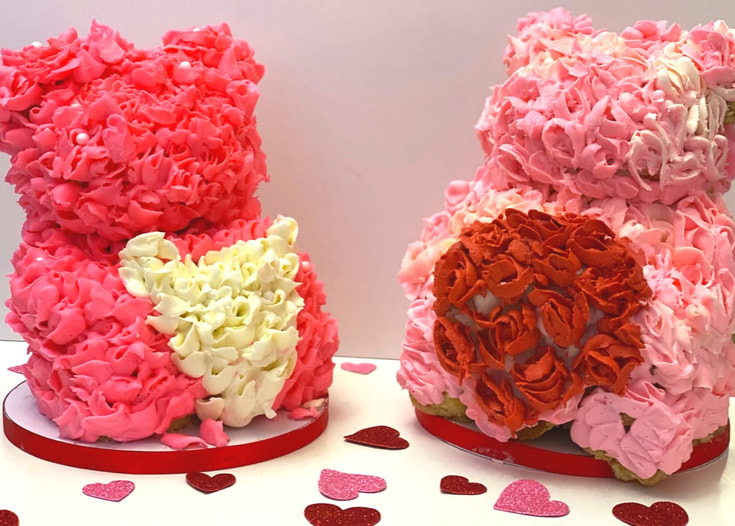 Hello my darlings bees, I have to admit, it's been a busy start to the year - what with spending time and training our new puppy (our second one in the last 7 months). I'm also working on new recipes. and new episode of DDD, Series 2. I'm not just a queen that not only looks good ("she says", if the lighting is right), I also can really bake. It was either get into baking full time or become a full time serial killer. It was touch and go, for a moment. I lived in Florida, trust me it can make the sweetest person feel a tad crazy, the heat alone. So, now I've gotten that off my chest, today is a special day, As it was my dear departed Nana L'queur Birthday. What will I need?Teddybear Body
Teddybear Head & Heart
Accessories
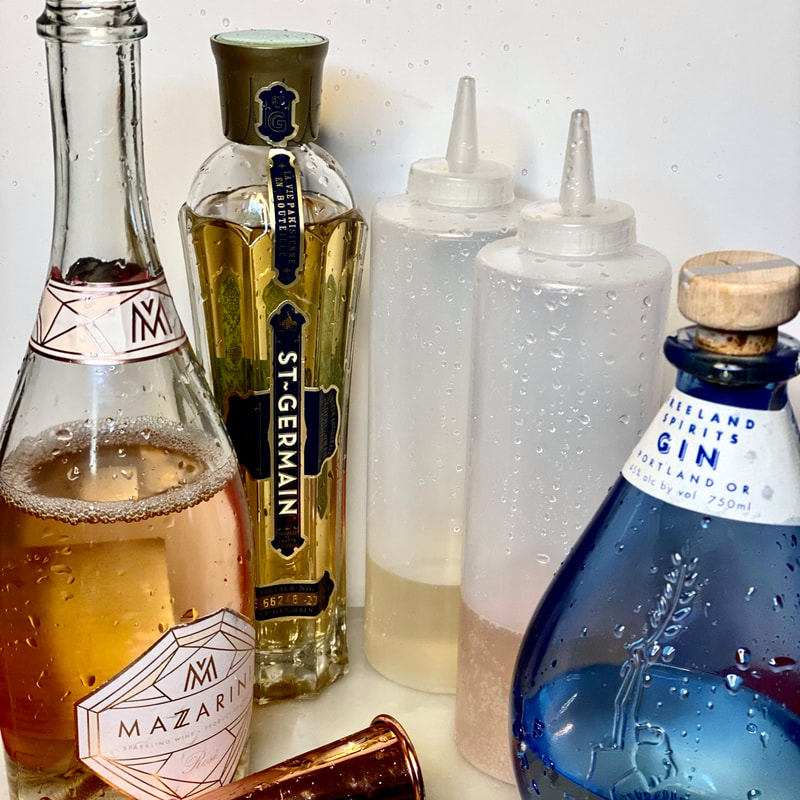
Alcohol syrup
Butter cream frosting
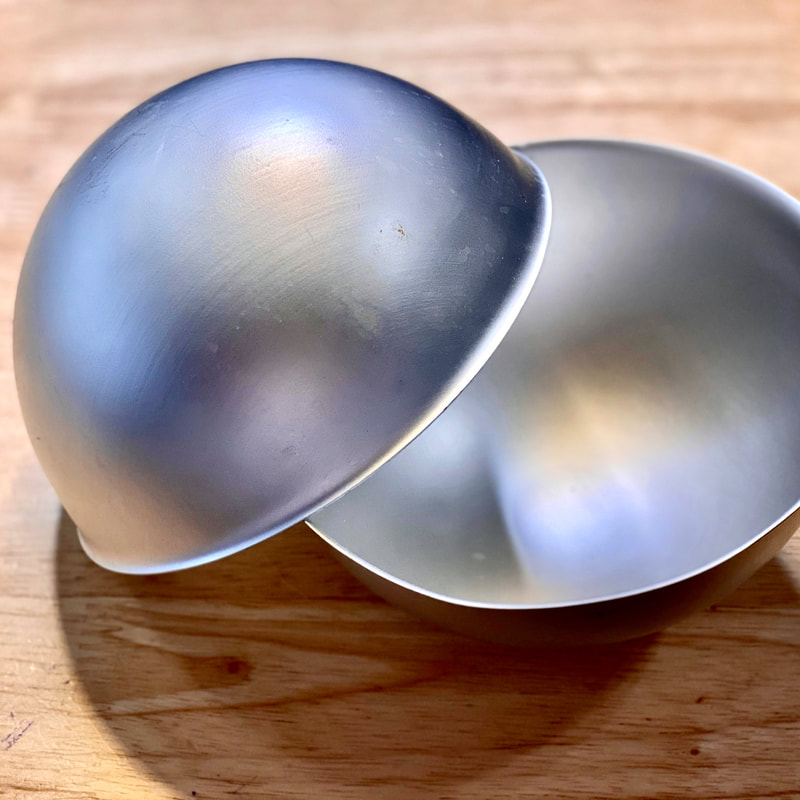
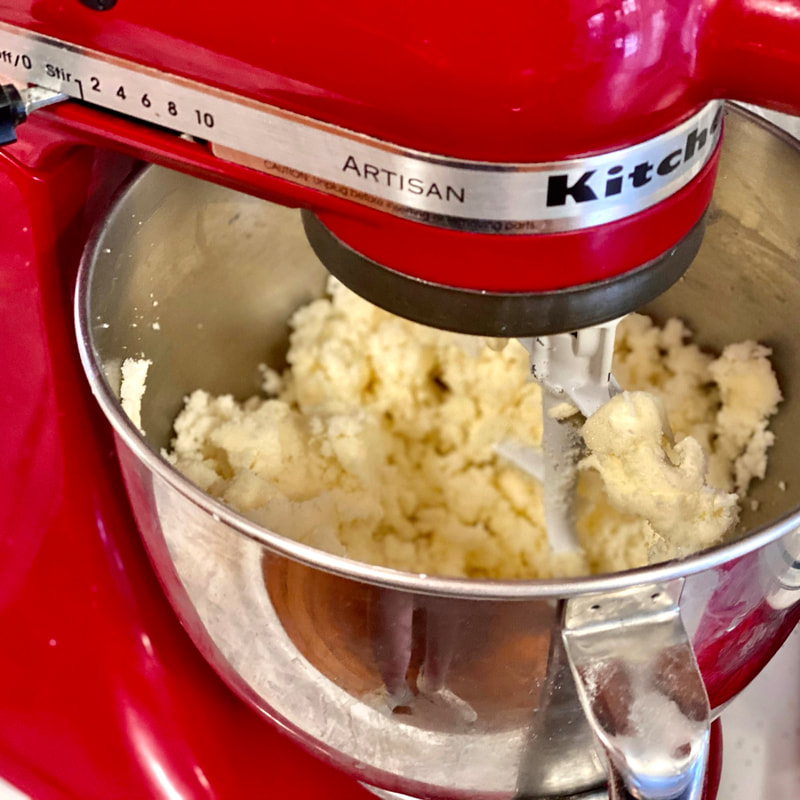
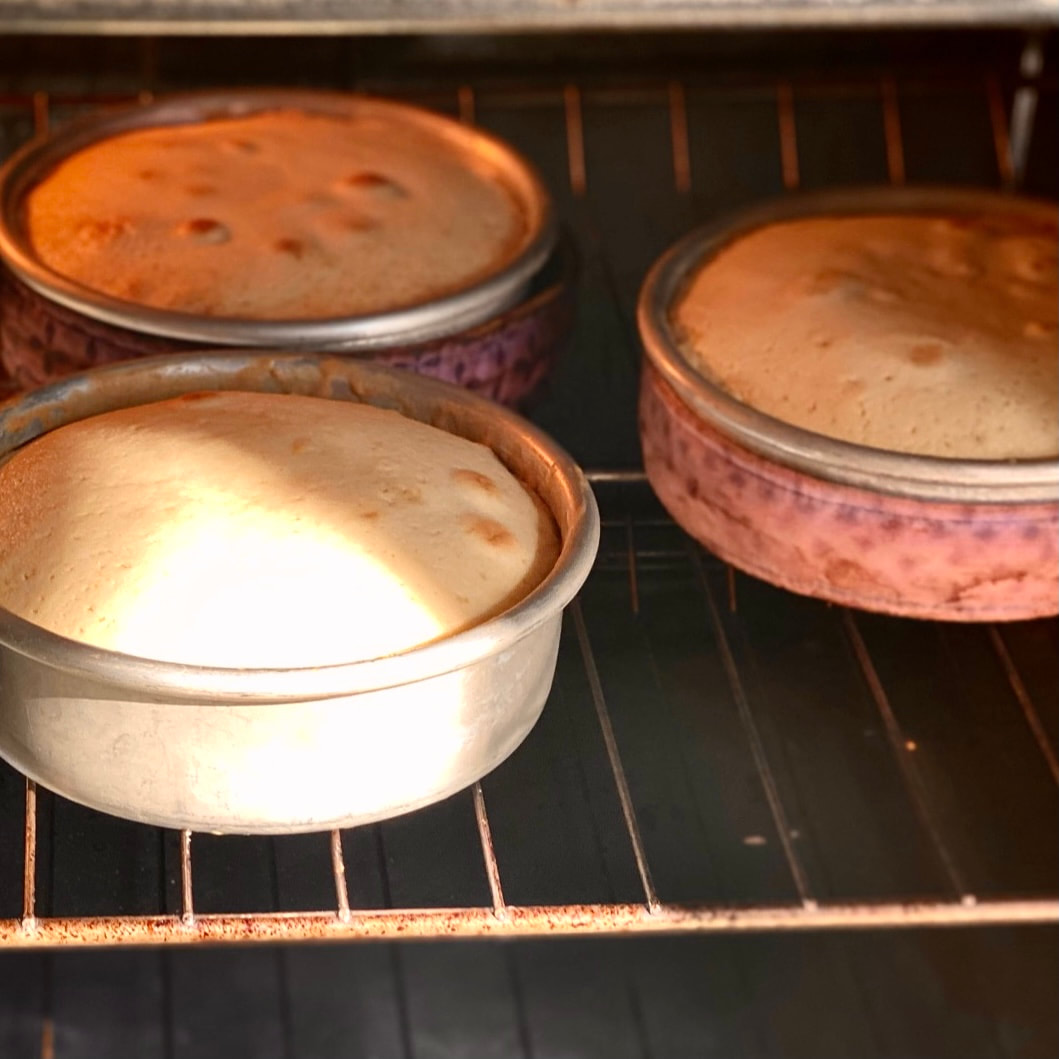
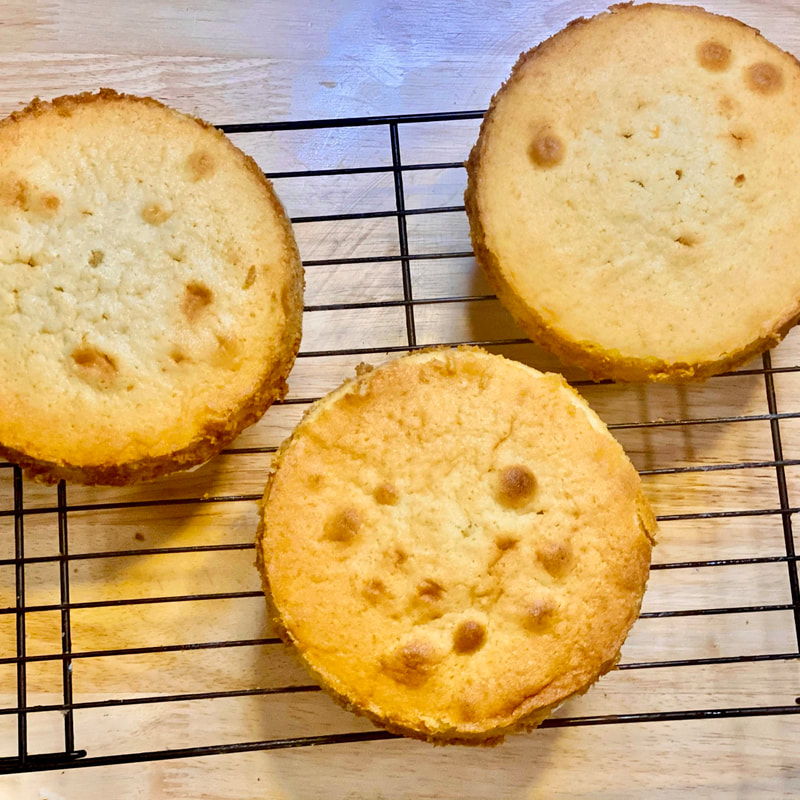
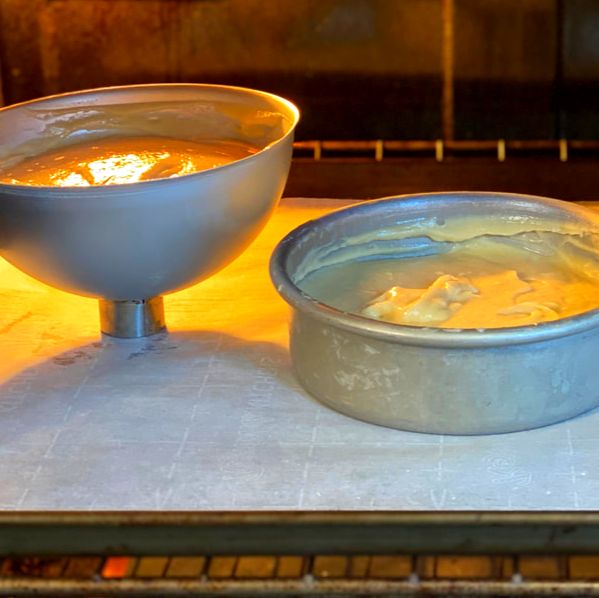
(You will need a lot of frosting for this cake, trust me) What do I do?IMPORTANT: The process for baking the cakes required for this recipe is split into two-parts: (1) baking the cakes for the body of the teddybear, and (2) those for its head & the heart it is holding. The following instructions are the same for both the cakes for the body, and the cakes for the head & heart. You can prepare and bake both simultaneously (if you have enough pans), or follow these instructions once for the body, and repeat for the head/heart.
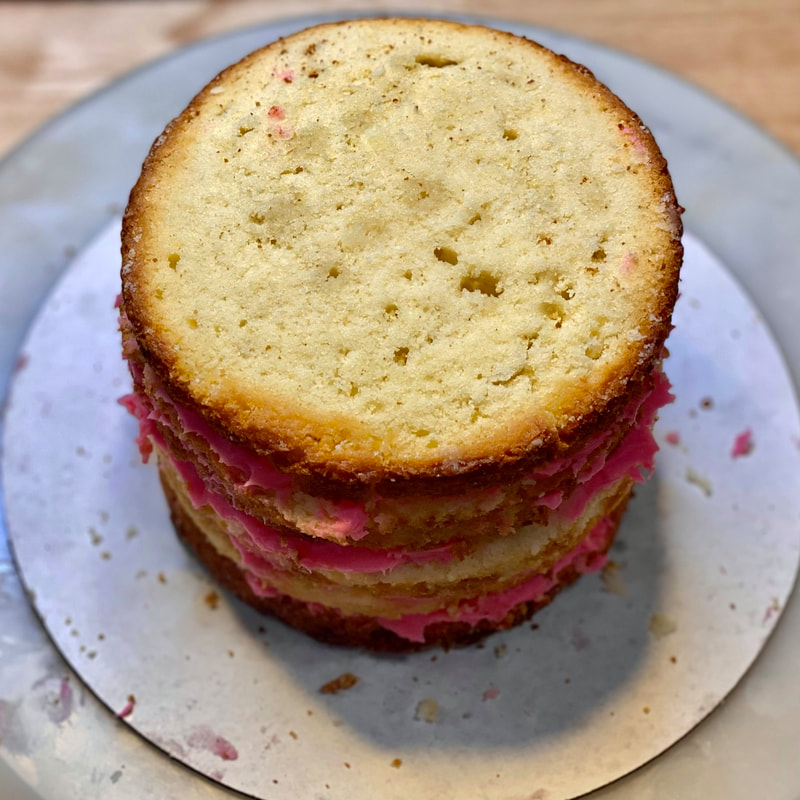
Note: The half-round ball pans may take a little longer to bake all the way through. Test with a toothpick to be certain. How to assemble the body
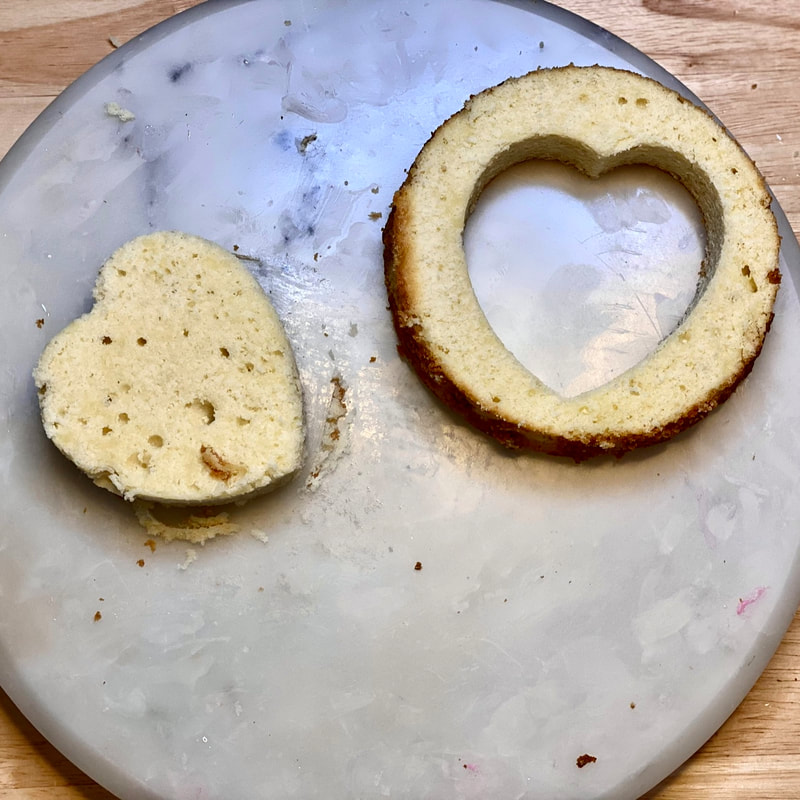
How to assemble the legs and arms
StorageShe may be stored in the refrigerator for up to 3-5 days. Tips, Tricks & Tiaras
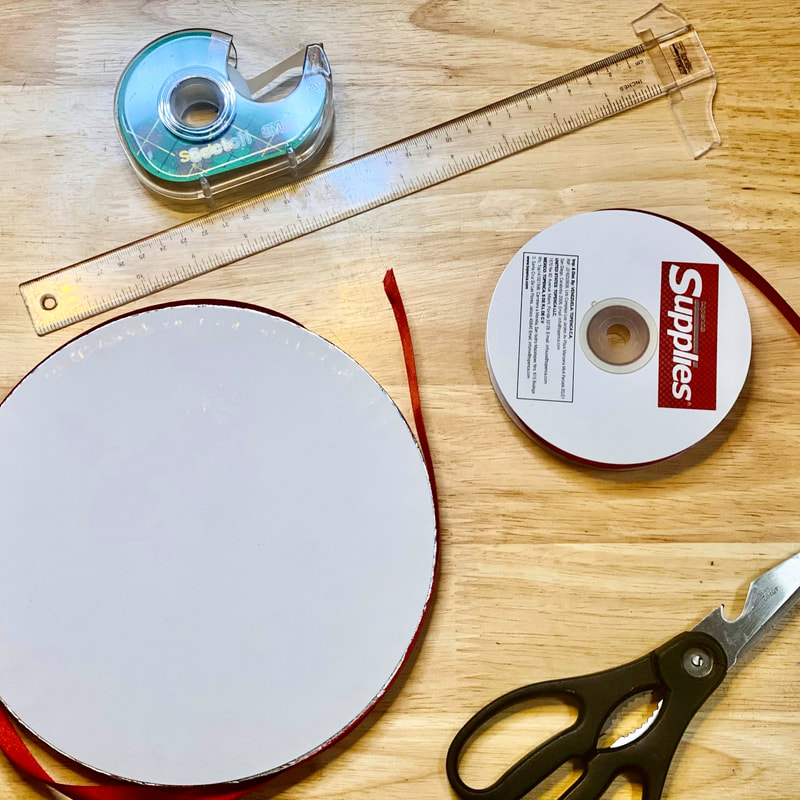
Downloadable TemplateTo make things a little easier for you, here is a printable template that you can use to help you cut your cate into the right shapes.
0 Comments
Leave a Reply. |
|||||||||||||||||||||||||||||||||||||||||||||||||||||||||||||||||

 RSS Feed


Website |
Lucille L'queur |
|