All
Archives
May 2022
|
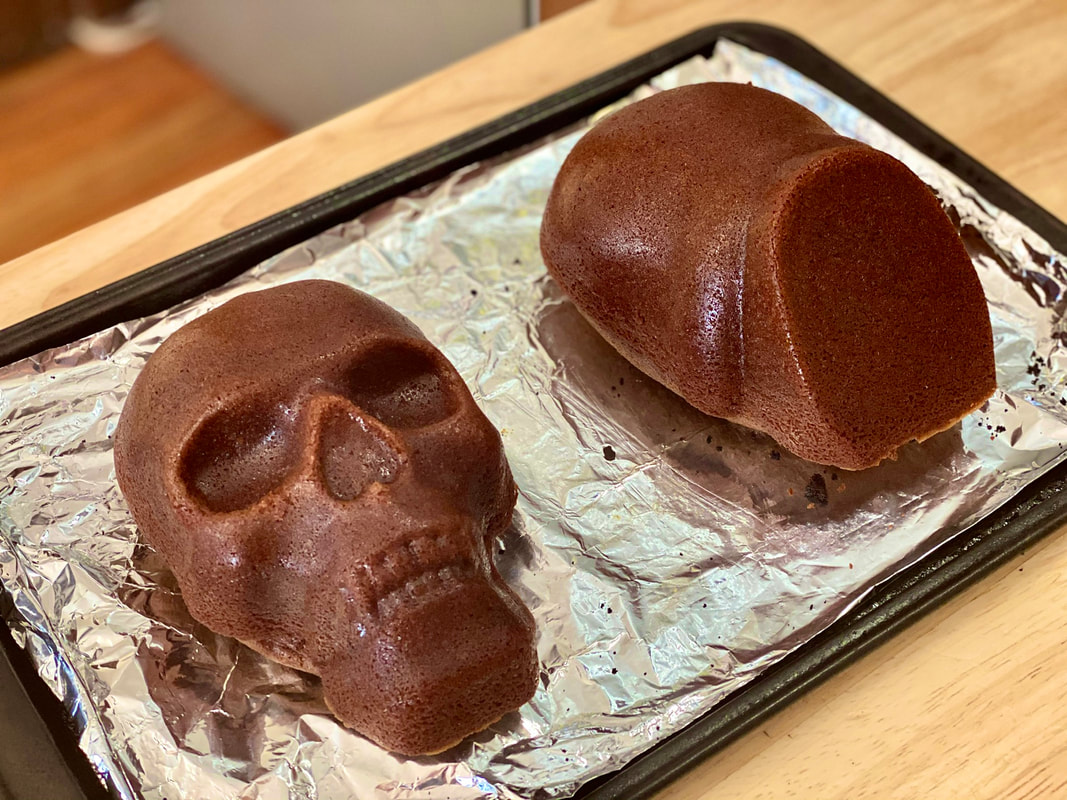
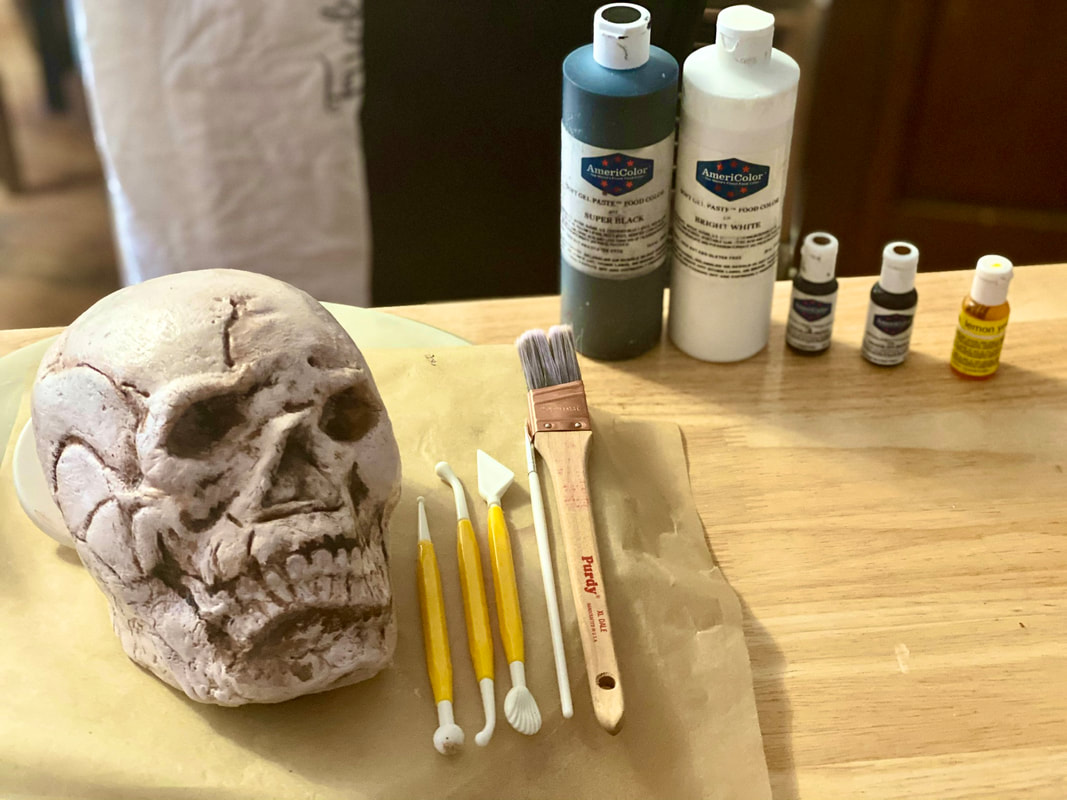
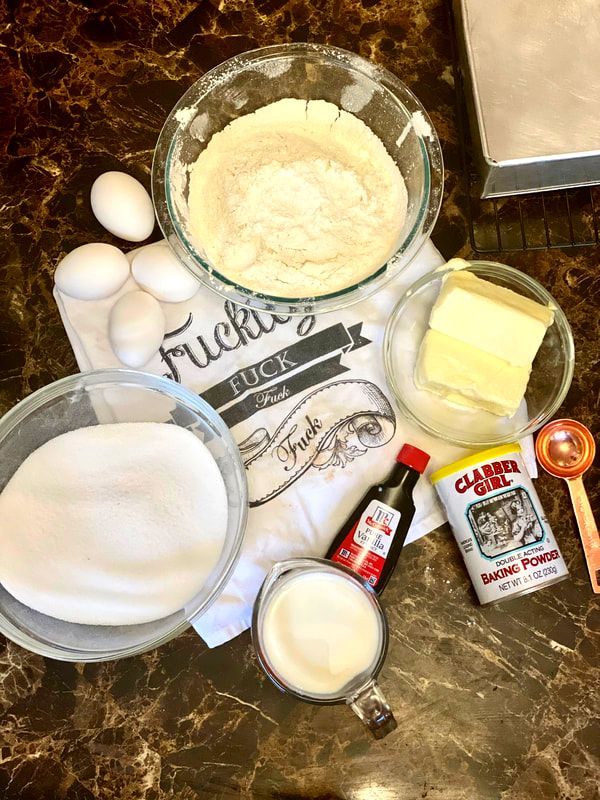
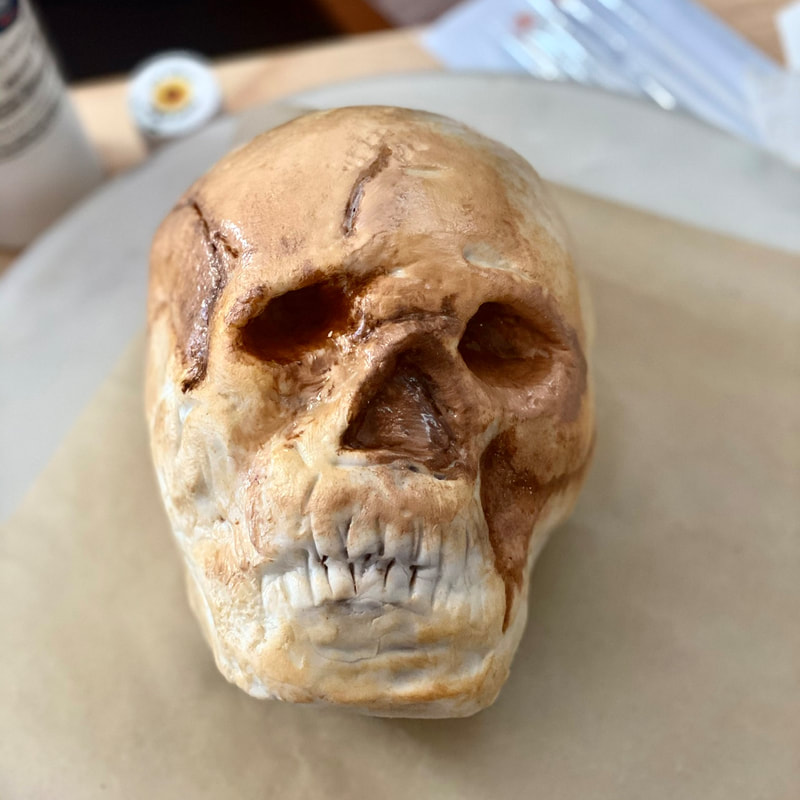
Hello my baker bees, so here’s a skull cake that's as quick and easy as it is spooky! Note: This cake requires the use of a special skull shaped cake-tin (link included below). 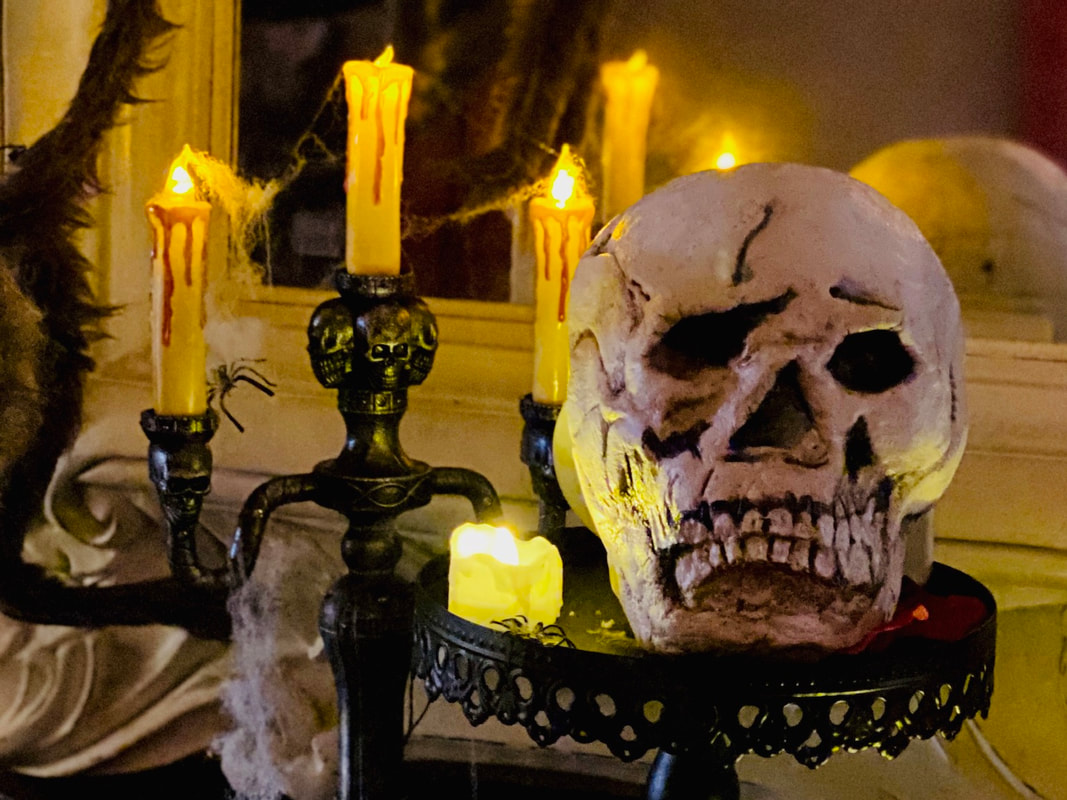 What do I need?
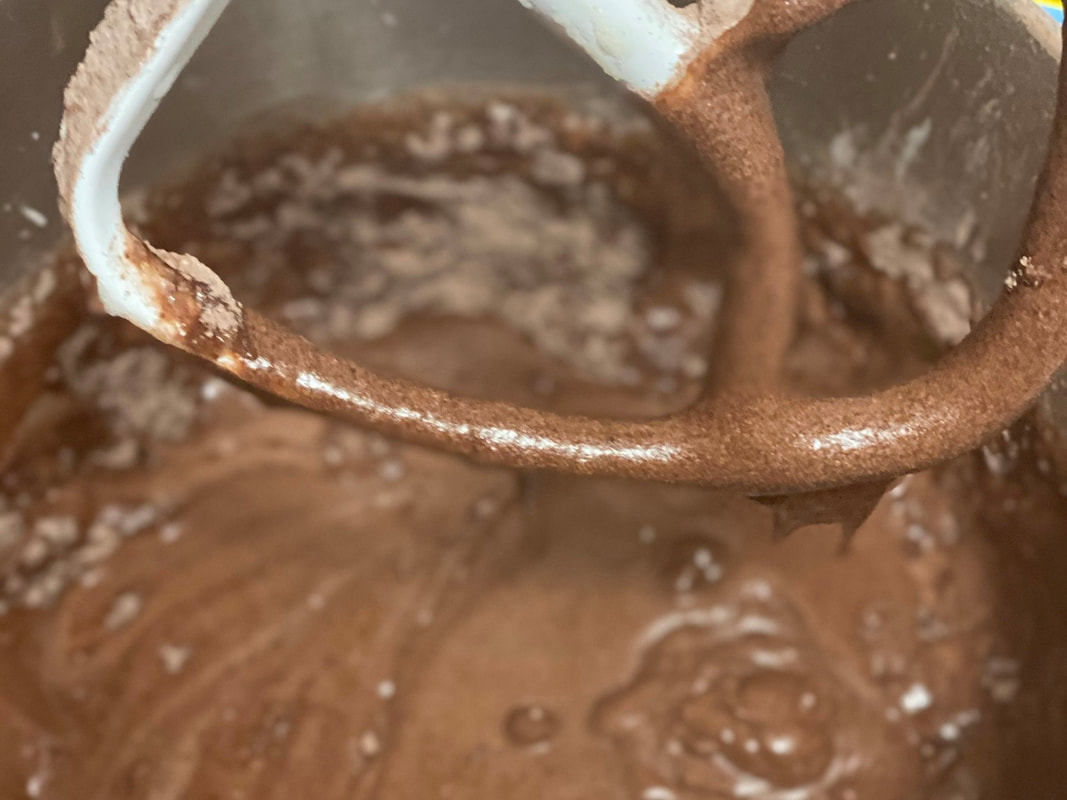
What do I do?

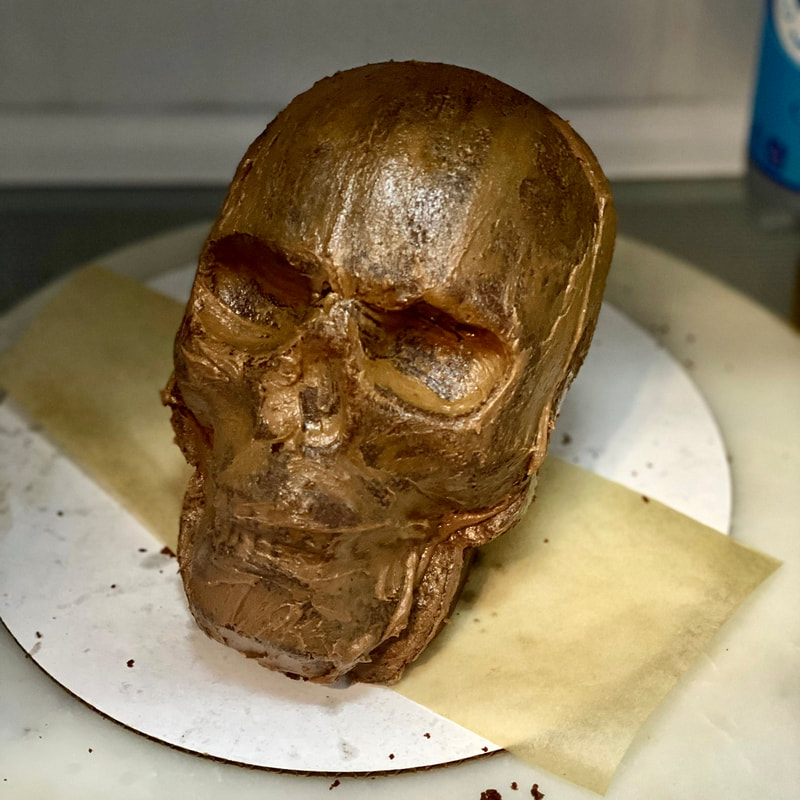
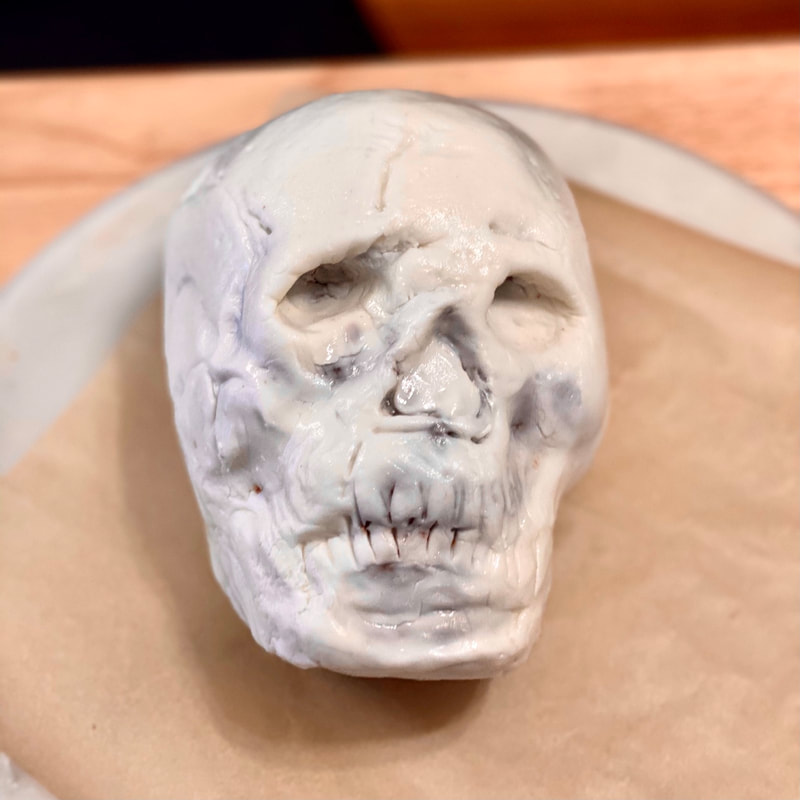
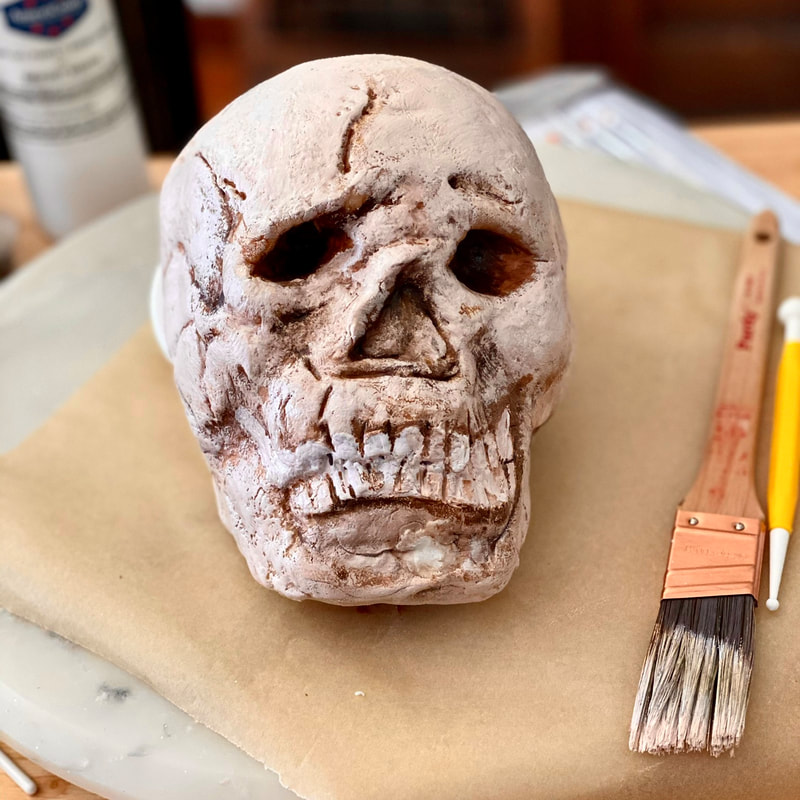
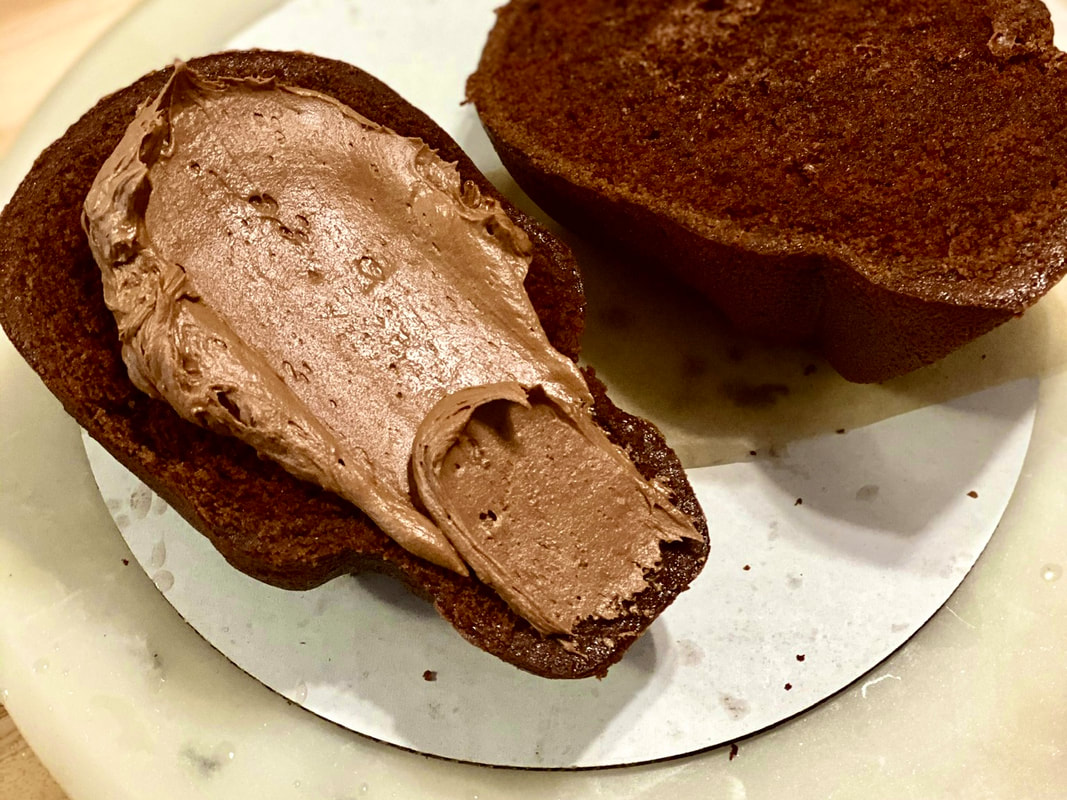 Decorating
0 Comments
Leave a Reply. |

 RSS Feed
Website |
Lucille L'queur |
|